Step-by-Step Guide on How to Replace a Broken Thermostat Safely
A broken thermostat can disrupt the comfort of your home and increase energy bills. Fortunately, replacing a thermostat is a manageable DIY project if you follow the right steps carefully. This guide will walk you through how to replace a broken thermostat safely and efficiently, ensuring your heating or cooling system runs smoothly again.
Gather Necessary Tools and Materials
Before starting the replacement, make sure you have all the required tools and materials handy. You will typically need a new compatible thermostat, a screwdriver set, a voltage tester, electrical tape, wire connectors, and possibly a drill depending on your wall type. Having everything ready helps avoid interruptions during the installation process.
Turn Off Power to Your HVAC System
Safety is paramount when working with electrical components like thermostats. Locate your home’s circuit breaker panel and turn off the power supply to your heating and cooling system. Use a voltage tester at the thermostat wires to confirm no electricity is flowing before proceeding further.
Remove the Old Thermostat
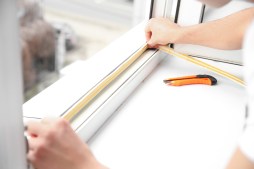
Carefully remove the cover of your old thermostat by unscrewing or unclipping it. Take note of how wires are connected — labeling them can be helpful for reinstallation. Unscrew the base plate from the wall and gently disconnect each wire from its terminal using a screwdriver if necessary.
Install the New Thermostat
Attach the new thermostat’s mounting plate firmly to the wall using screws or anchors suited for your surface type. Connect each labeled wire to its corresponding terminal on the new device according to manufacturer instructions. Secure any loose wiring with electrical tape or wire connectors for safety.
Restore Power and Test Your New Thermostat
Once installation is complete, turn power back on at your circuit breaker panel. Set up your new thermostat following its instruction manual—program temperature settings as desired—and test that it properly controls your heating or cooling system without issues.
Replacing a broken thermostat doesn’t have to be intimidating when you approach it with care and preparation. By following this step-by-step guide safely, you’ll restore comfort in your home quickly while gaining valuable DIY experience.
This text was generated using a large language model, and select text has been reviewed and moderated for purposes such as readability.